Polygon Crest is a fre and open-source program. Therefore, you can use it for free of charge. However, I appreciate if you donate some money for supporting the development. For making donation, please send some money via PayPal using the following button.
I will use the donated money for upgrading my developing environment, buying books for learning new programming techniques, maintaining and adding contents in YSFLIGHT.COM. Thank you for your support!
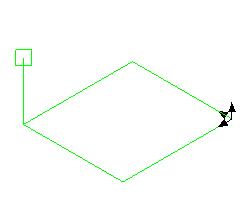
Method 1 is typically used when you are creating a new element where nothing exist yet. In this method, you can move a cursor parallel to the base plan by mouse left-button drag, and perpendicular to the base plane by mouse right-button drag.

Base plane can be selected by clicking on "XY-Pln", "XZ-Pln", or "YZ-Pln" button on the dialog.

You can enter exact XYZ coordinate in the text boxes and click "Set" button to move the cursor to that location.
"Abs" and "Rel" selects the coordinate on the text boxes be relative to the origin or to the initial cursor location.
"Copy" button will copy XYZ coordinate of the cursor to the cut buffer as a text, and "Paste" button will take XYZ coordinate from a cut buffer.
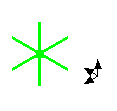
Method 2 is typically used when you move something that already exists. In method 2, you will see a cursor with up to six lines sticking out. You can click on one of the lines by left-button and drag it to move the cursor parallel to the line.

Sometimes you see less than six lines, or the lines may not be parallel to the axial directions. You can make them parallel to the coordinate axes by unchecking "Custom Orientation" button on the dialog.
Functionalities of other buttons on the dialog are same as Method 1.
